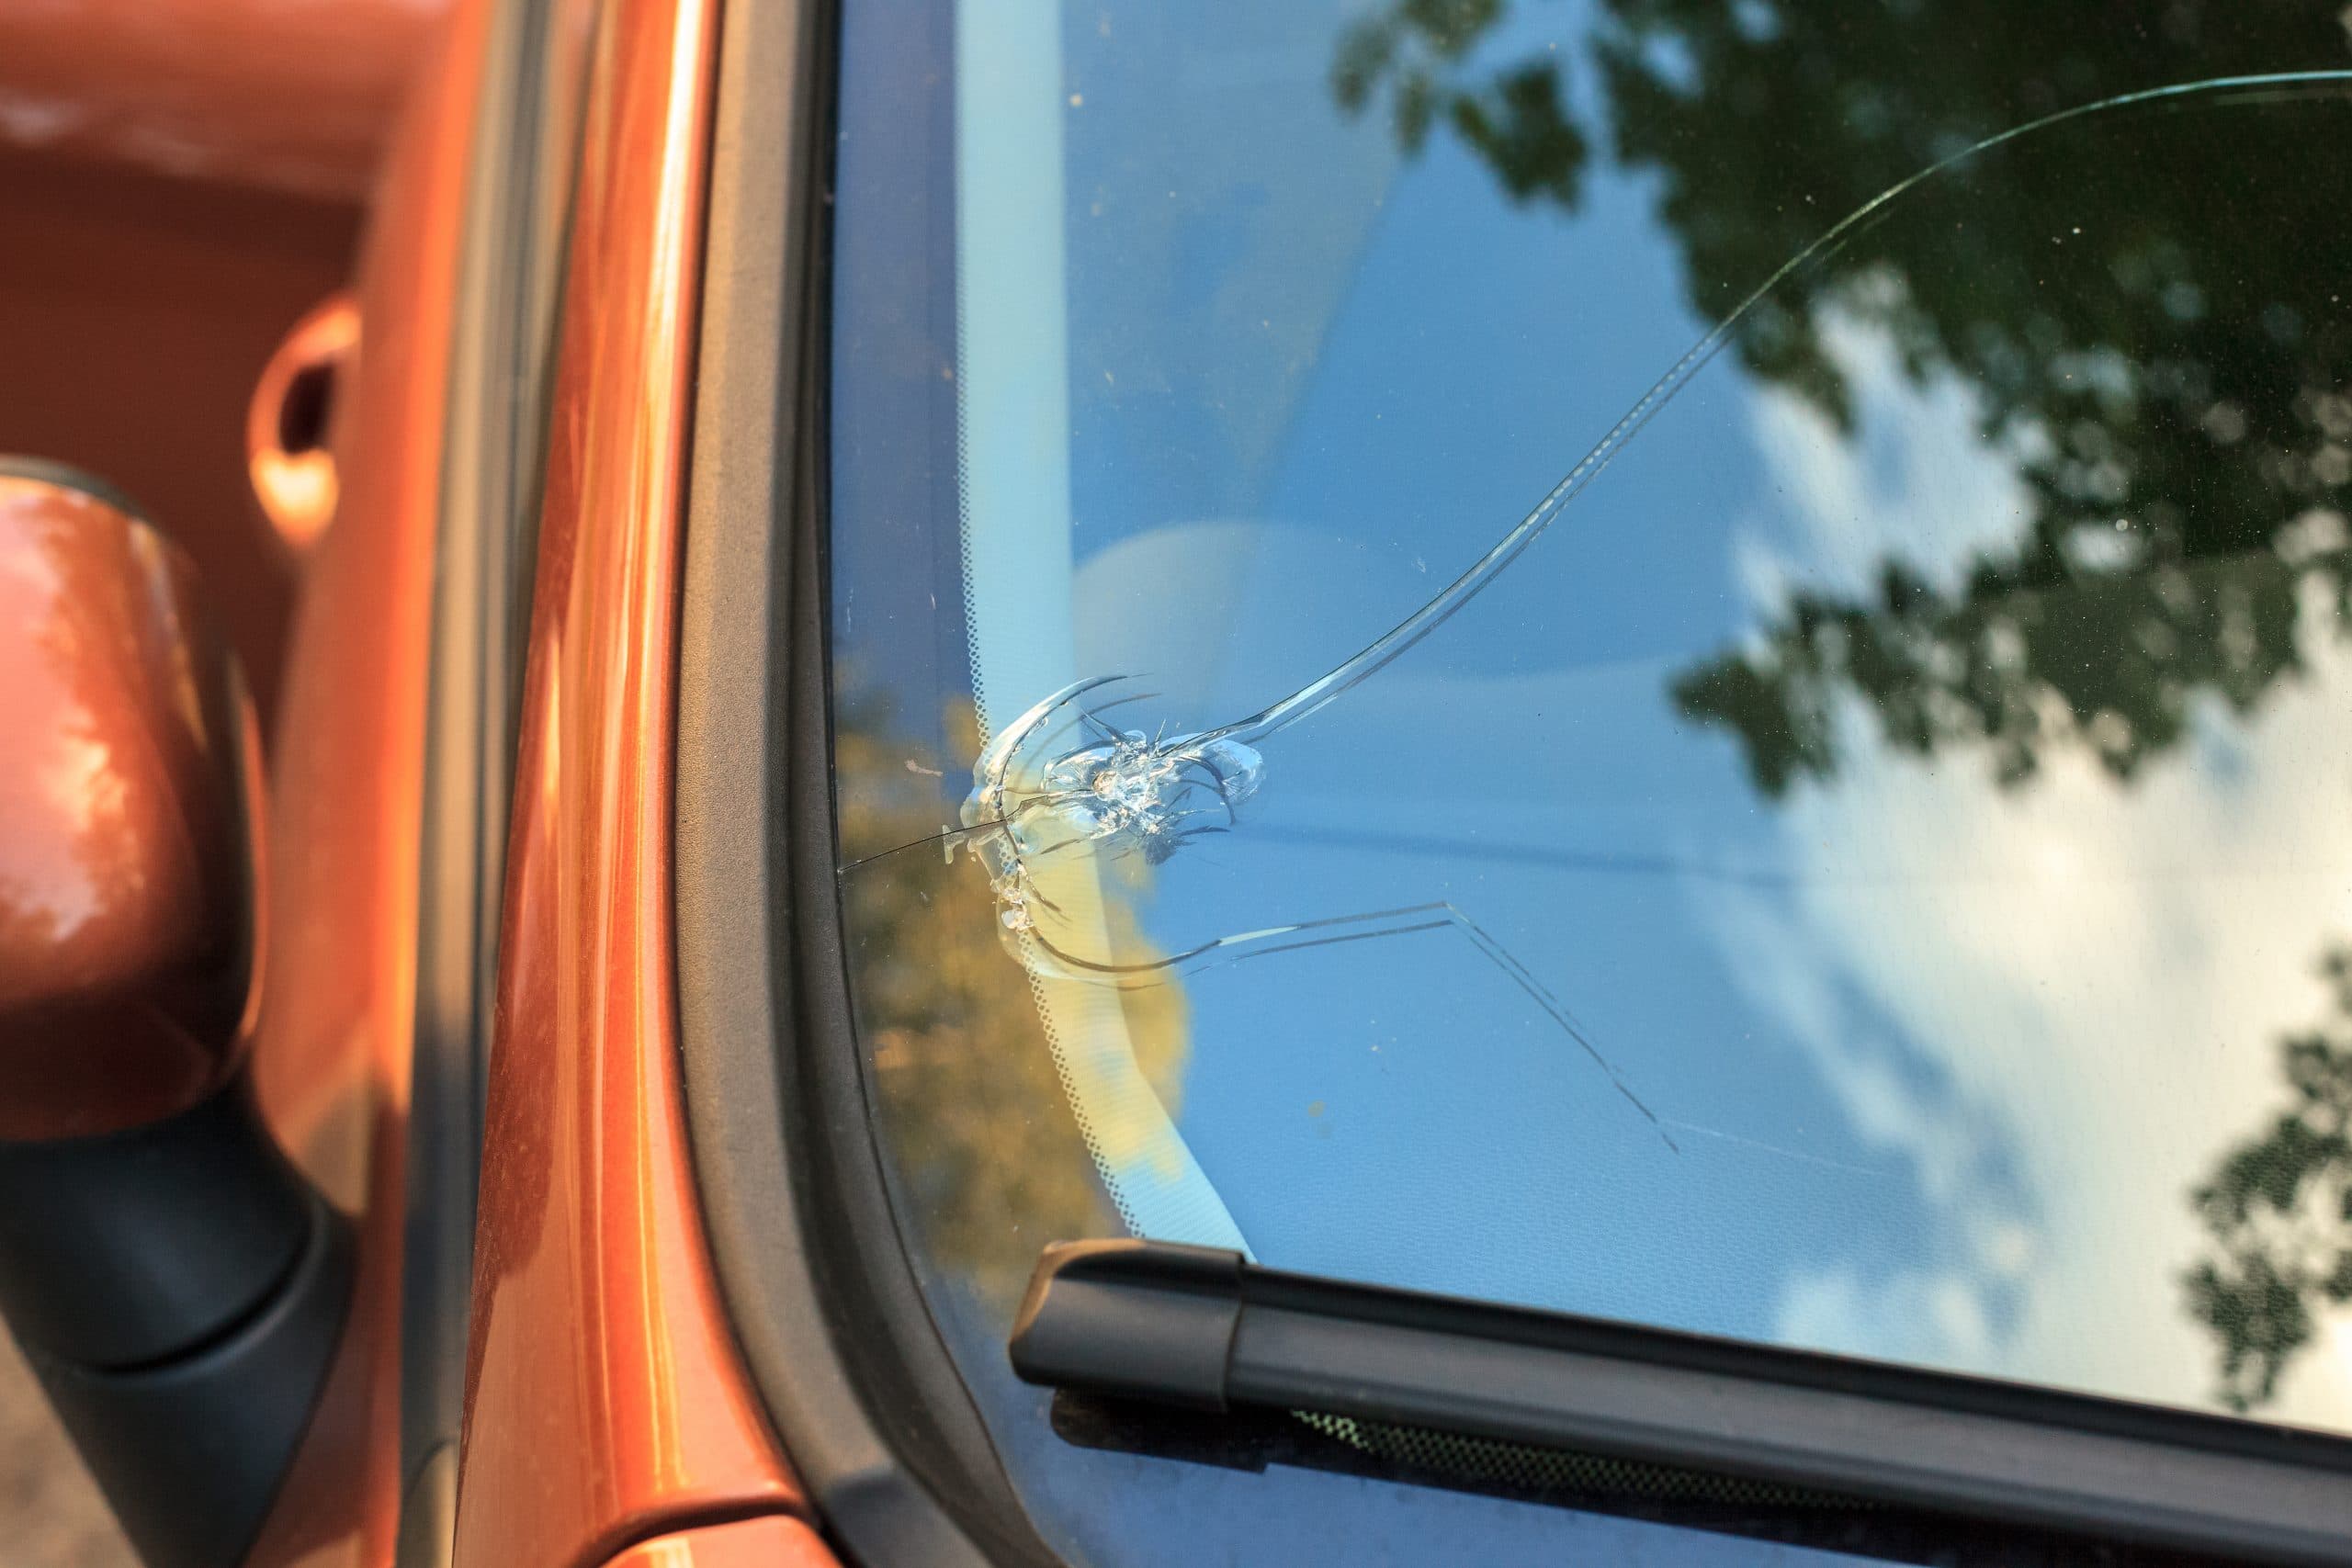
You’re driving down the highway. A stray pebble has struck your windscreen leaving a chip. If not fixed immediately, chips and cracks will expand in time, causing damage that may require a full windscreen replacement. Fear not! Your recently purchased UFIXIT Windscreen repair kit is on hand to remedy the issue in as little as 20 minutes!
How Big is Too Big?
Bulls eyes and chips no larger than 3cm in diameter and cracks no longer than 10 cm in length should not be fixed with a UFIXIT DIY or any windscreen repair kit and require replacement by a professional glass service. If it is smaller than a diameter of 3cm, then your windscreen repair will be easy as one, two, three.
Windscreen Repair
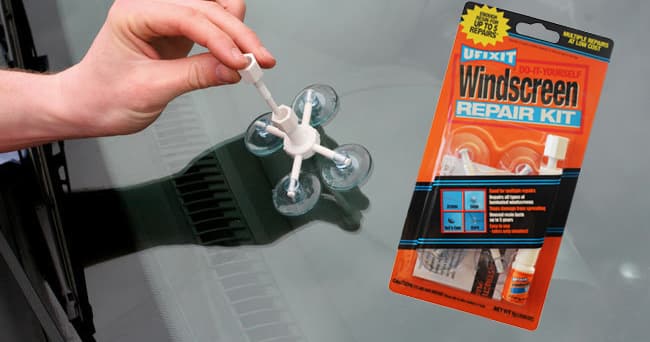
First, purchase a windscreen repair kit at your local auto parts store. Its resin, which will be contained in the kit, has an astounding lifespan of up to 5-year . So you can reuse the kit if haplessly faced with a cracked or chipped windscreen in the future.
Step 1: Preparation for the best results, repair damage as soon as possible after damage occurs.
Clean the surface of your windscreen with a paper towel. The windscreen should be shaded from direct sunlight until the entire repair is complete. Do not attempt to repair in direct sunlight as the resin will cure before the repair is fully completed. The windscreen glass is also more fragile when hot and can break easier, so allow it to cool first. Use the enclosed razor blade to cut off the tip of the resin bottle—(only the rounded tip of the thin end of the repair resin bottle). Note: Do not attempt to clean out damage with any liquid cleaners or chemicals as this will contaminate the damage and may cause the damage to still be slightly visible after the repair.
Step 2: Centering applicator base over impact point.
Remove loose glass fragments by scraping over the damage with the razor blade provided. Affix the applicator base to the windscreen. Ensure the center ring is centered above the impact point and the suction cups are firmly attached to the windscreen. Do not allow the suction cups to cover any cracks extending from the central impact point.
Step 3: Screw resin chamber into center ring.
Screw the resin chamber into the center ring. If necessary reposition the device so the rubber mouth will be directly on top of the impact point. Check the alignment from inside the vehicle. Screw down the resin chamber (turning clockwise) so the rubber mouth just touches the windscreen in complete, but gentle, contact with the glass.
Note: Applying too much pressure will compact the air void in the chip and make it harder to inject the repair resin into the chip, affecting the flow of the repair resin and effectiveness of the repair.
Step 4: Squeeze resin into resin chamber.
Apply 3-6 drops of the repair resin, depending on the extent of the damage, into the resin chamber mounted on the windscreen. If the resin leaks out the bottom of the resin chamber gently turn it clockwise enough to prevent leakage.
Caution: Be careful not to get any repair resin on vehicles paint work as staining may occur.
Step 5: Screw pressure driver into resin chamber.
Screw the pressure driver clockwise into the resin chamber to drive the resin into the break. Tighten until the pressure driver is almost screwed all the way in. Check from inside the vehicle to make sure the rubber mouth has opened wide under pressure. Allow the repair resin time to be absorbed into the break —10 to 15 minutes depending on the damage size.
If the repair resin has not reached all areas of the crack or chip, you may apply heat on the inside of the windscreen for 5-10 seconds using a lighter or hair dryer. This will expand the glass to allow resin to penetrate easier into the break. Allow 5 minutes for the windscreen to cool down before proceeding any further. Be wary when applying heat as excessive heat may cause further damage. Slightly re-tighten the pressure driver about one quarter turn to push the repair resin further into the break.
Note: If the rubber mouth does not open, you will need to remove the pressure driver and add 1- 2 more drops of repair resin. Re-insert pressure driver and repeat step 5.
Step 6: Unscrew and remove pressure driver.
Unscrew and remove the pressure driver from the resin chamber to release any air trapped in the chamber. Re-insert the pressure driver and screw down again to displace any air remaining in the break and inspect the windscreen from about a 45 degree angle. Ensure the break in the crack or chip is devoid of air bubbles. In the case of chips or bulls eyes, examine the glass form directly behind the damaged area. Unrepaired areas will appear as dark green or black areas. If damage remains visible, repeat steps 5 and 6 until satisfactory results are achieved. Ensure there is enough repair resin remaining in the resin chamber. If necessary, add more repair resin.
Most repairs will take 45-60 minutes. Do not proceed to step 7 until all air is removed. This may take longer on certain repairs.
Note: The air in the glass will appear dark in colour. If there is any air remaining in the damaged area, after the repair device has been removed, repeat procedure from Step 1 to Step 6 again until clear. Do not proceed to step 7 as the air will be permanently trapped in the glass and the damage will remain visible.
Step 7: Remove apparatus, touch-up, apply curing strips.
After the air has been removed, turn the resin chamber and pressure driver together half a turn to the left. Remove the entire apparatus by lifting up on the small tabs on the suction cups. Gently wipe away excess repair resin from the applicator so it does not drip down the windscreen.
When applying the curing strips to the repair, pressure is not necessary, on the outside of the strip, gently place the strips on the glass.
Step 8: Expose to sunlight, wait, scrape off excess resin.
When the entire application procedure is complete, move the windscreen into direct sunlight or use an ultraviolet light. Allow the repair resin to cure completely for 5-10 minutes, then remove the curing strip(s). If the repair resin is still wet under the strips, leave the strips in place until the repair resin is dry. Scrape away the hardened excess resin with the razor blade.
Hold the razor blade at a 90 degree angle to the windscreen when scraping for best results. It is not necessary to be gentle when scraping. Scrape until the hardened resin comes off in white flakes. If a blemish still remains at the impact point, apply a small drop of the repair resin directly to the chip. Cover the area with a curing strip and scrape over top of strip with razor blade to force resin into the chip. This should leave the repair resin in the remaining blemish only. When this cures carefully scrape hardened repair resin from all areas except the impact point.
Windscreen Repair Summary:
To ensure you get proper adhesion during the repair, clean the outside of the windshield well where the repair will take place. But never spray glass cleaner directly onto the crack or chip. Instead, pour a small amount of rubbing alcohol on a microfiber cloth, and wipe the surface. Use supplied razor blade to remove any loose shards of glass in the chip or crack.
The resin in your repair kit requires UV light (sunlight) to cure, pull your car out of the garage or from the shade into the open daylight. If possible, save the repair for, sunny day if possible, but a repair can be done on a cloudy day or really hot or cold days, but more care must be taken. The repair will require sunlight to cure the resin so it can be left overnight and cured the following day. If it’s been raining, make sure to allow enough time in the sun to remove moisture from inside the chip or crack before applying the resin.
More articles on Windscreen Repair Kits: Top 5 Windscreen Repair Kits